What is project default? Basically, it's me playing
around in Maya, building out a character, and filling in
some gaps in my general Maya education.
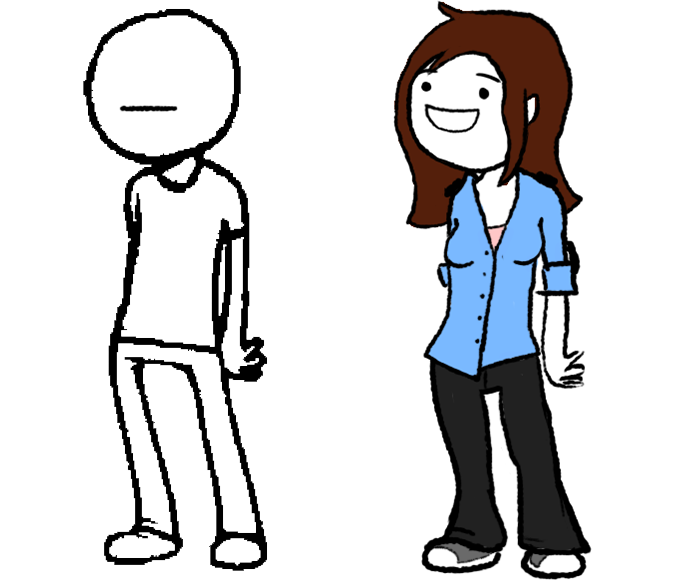
This little template made its way around the internet for
some reason, and in between professional projects, I decided
to doodle on it too. Clearly this is my best work.
I thought this character was pretty cute. A friend
said, "It looks like she told a joke, and it took a minute
for her to get it."
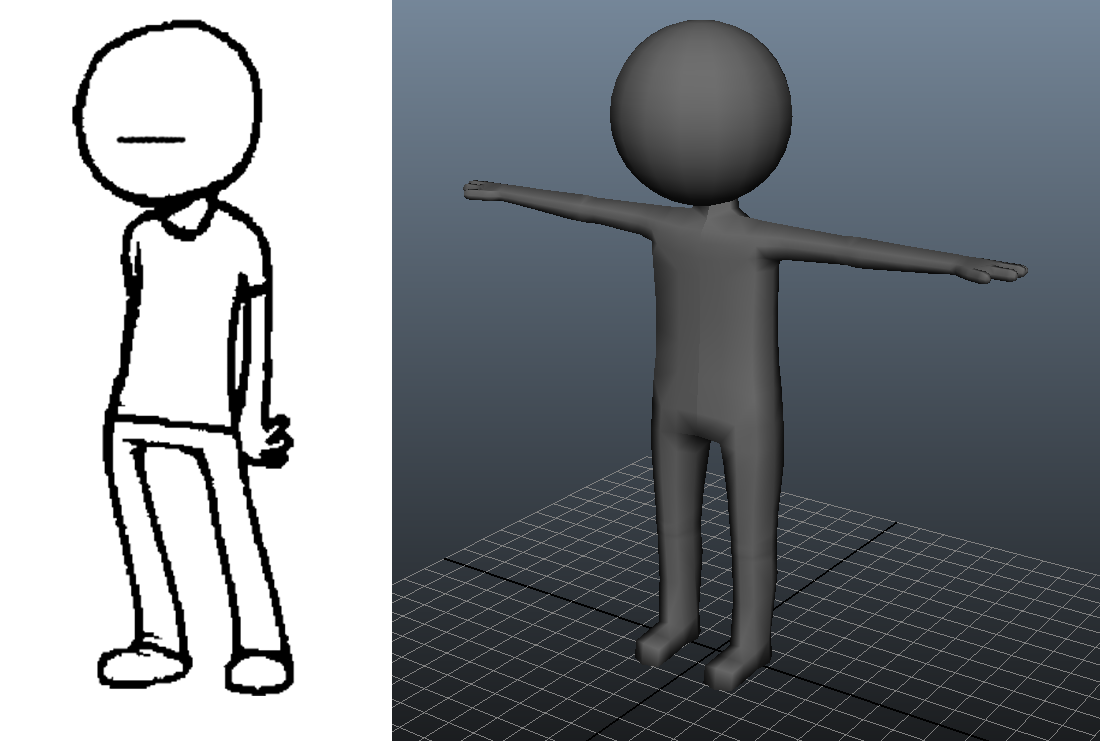
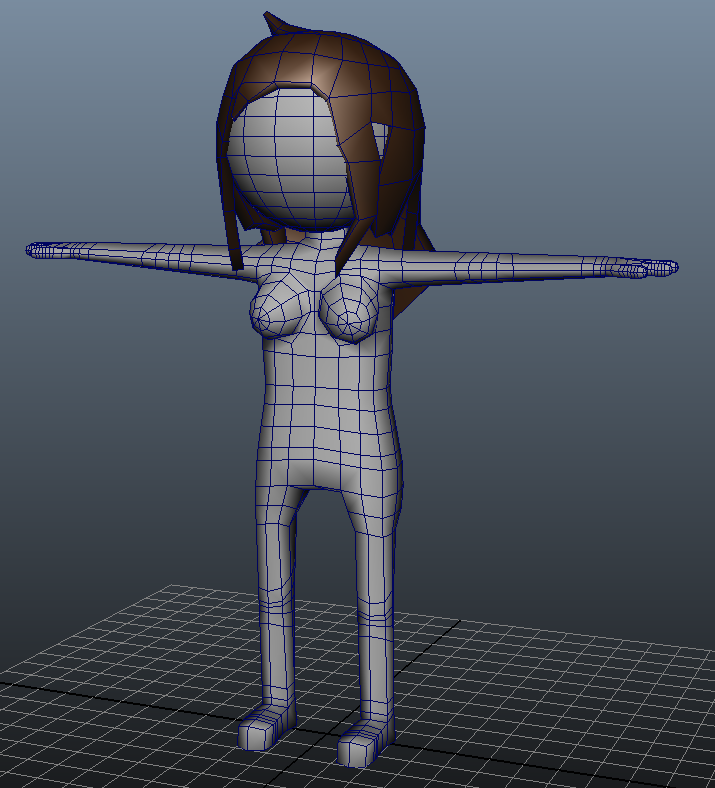
Initially, I built this simple model to pass along whenever
the template was posted so more ambitious participants could
play with it in 3D. I spent a lot of time debating
whether or not to give it a butt by default.
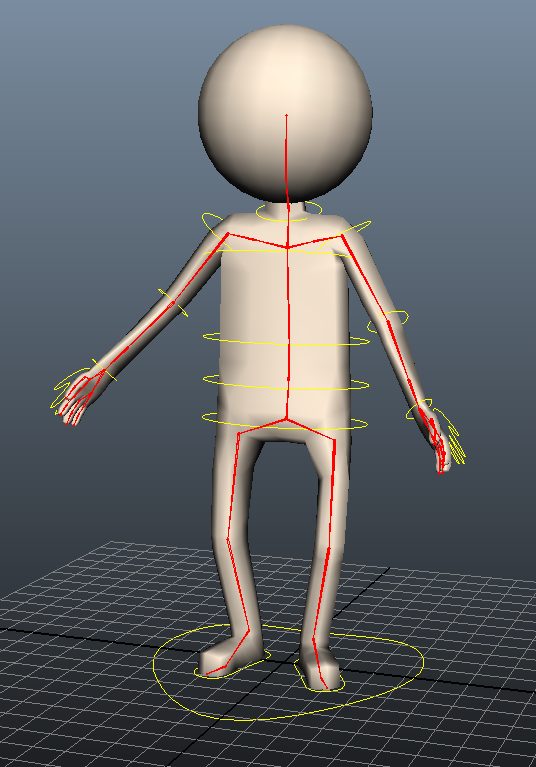
So I rigged it up, weird geometry and all. Immediately
I wanted more. I wasn't satisfied with just this
template guy. I decided that I was deficient in the
nCloth area. All of my characters' clothing up to this
point had just been skinned directly on, maybe using a
blendshape or deformer for some secondary action.
Just getting cloth working was pretty easy.
Getting it working well is another story, but I
understood the fundamentals enough to implement nCloth in a more
fleshed-out character.
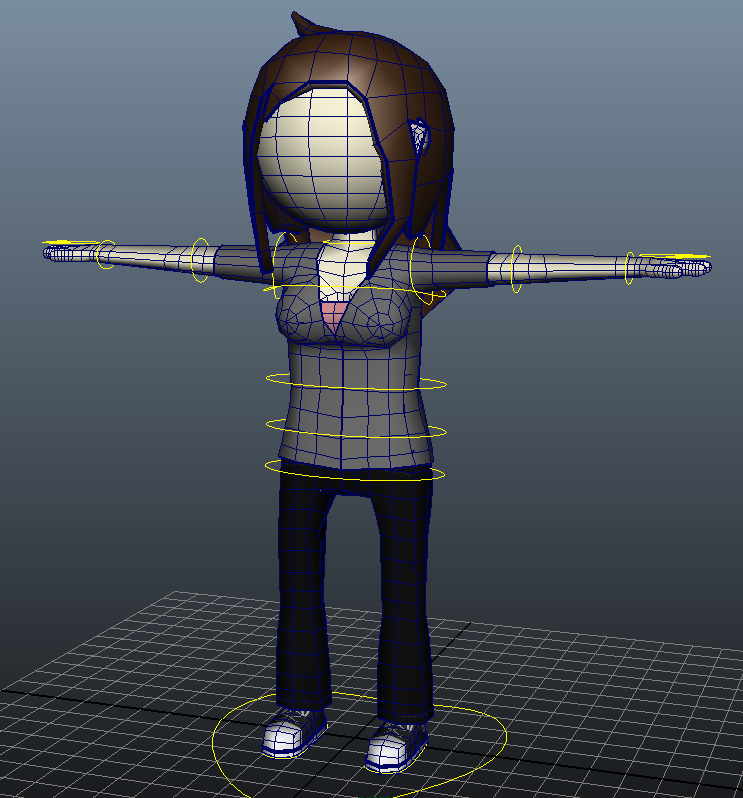
Add a chest to match the drawing, make some tiny tweaks to
the mesh, correctly map the UVs, and BAM, we have the
character I'll call "Default". I've always had trouble
with single-piece hair for some reason, so that was another
area I was determined to conquer.
Of course she needed some sweet dumpy clothes if I was going
to simulate cloth. As I mentioned, clothing in the
past for me has been simple and built-in. It always
went right on the bone without skin underneath; the
character meshes were just one solid piece.
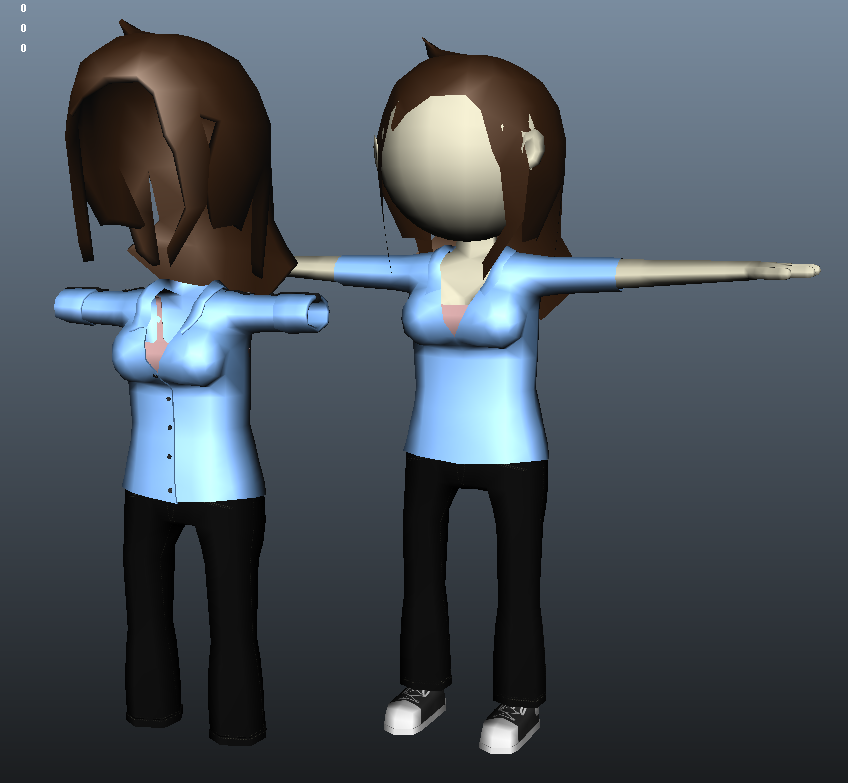
I gave nCloth a shot on this version.
Though it was behaving well enough individually, the shirt was not
playing well with the undershirt. This will take some
work.
I learned how to do thick clothing with a Wrap deformer.
It's straightforward and really useful. When I
realized it, I went back and made a "cloth" version of the
hair as well. The wrap allows deformation by proxy, so
it allows me to simulate the cloth on a lower-detail mesh
and let the high-detail models follow. There's no need
in this case to add extra work for the simulation. The
other danger with thick clothing is that nCloth doesn't
understand how to keep that thickness. A Wrap deformer
keeps the inside layer in the same place relative to the
outside layer; the thick cloth doesn't flatten and clip
itself.
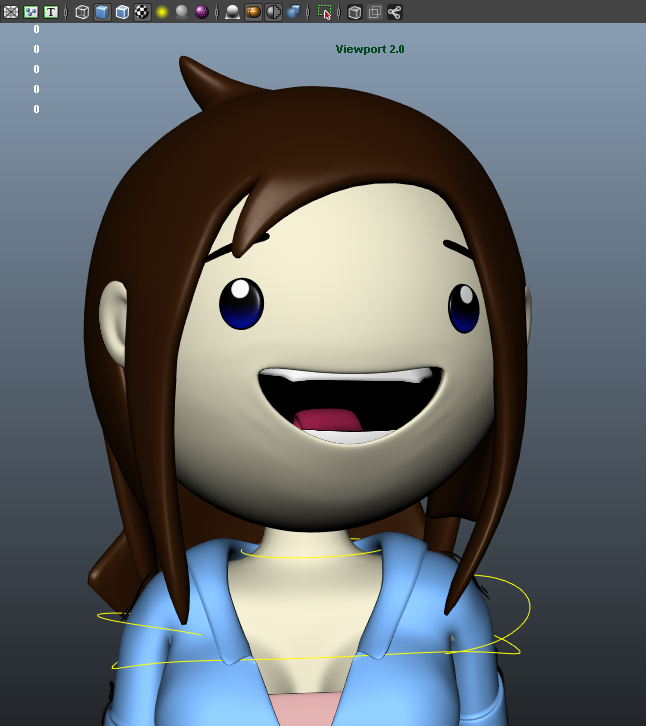
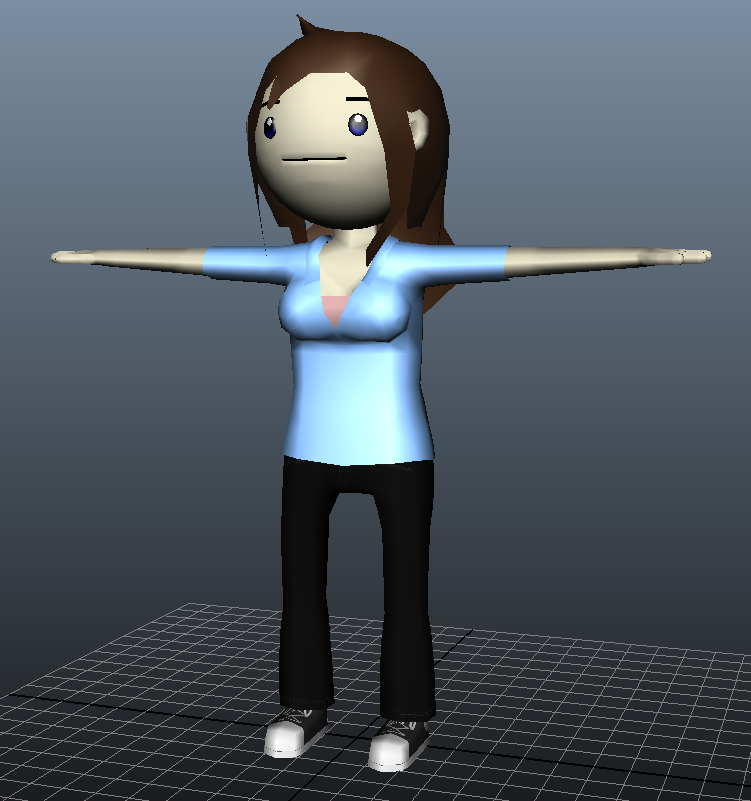
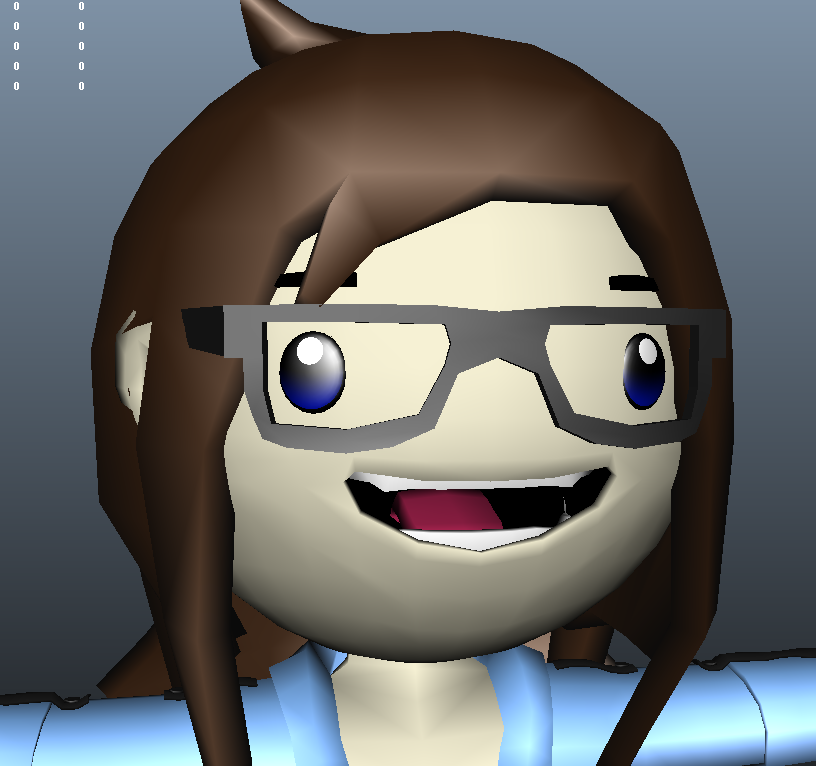
I think she turned out pretty well. She has that same
derpy look. I was trying to stay close to the template
model as proof-of-concept that the template would give good
results. This caused her to be a bit wider than I
drew, and with the thicker clothing on top, the breasts
appear somewhat larger than I wanted. They're not
offensively-proportioned, so I let them stay. I set the
character down, happy with my work until I tried to sleep
that night. There was so much more to do!
With my work on Why Are
There Robots?and other graduate projects in that
style, I hadn't done much recently with facial rigging; all the faces were
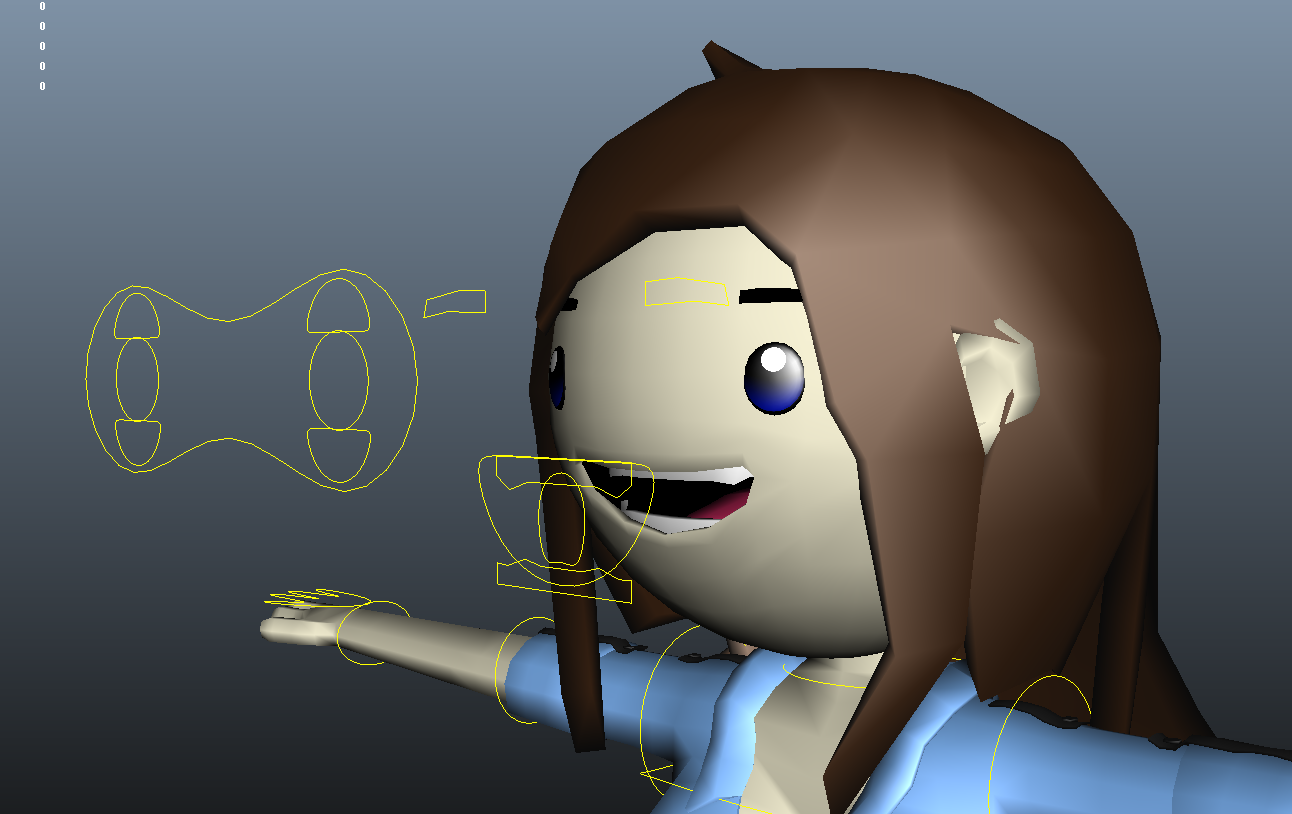
texture sequences. Of course I wanted to keep it cute
and consistent with this cartoony style. I went with
conservative oval eyes, eyebrows, and some basic blendshape
mouths.
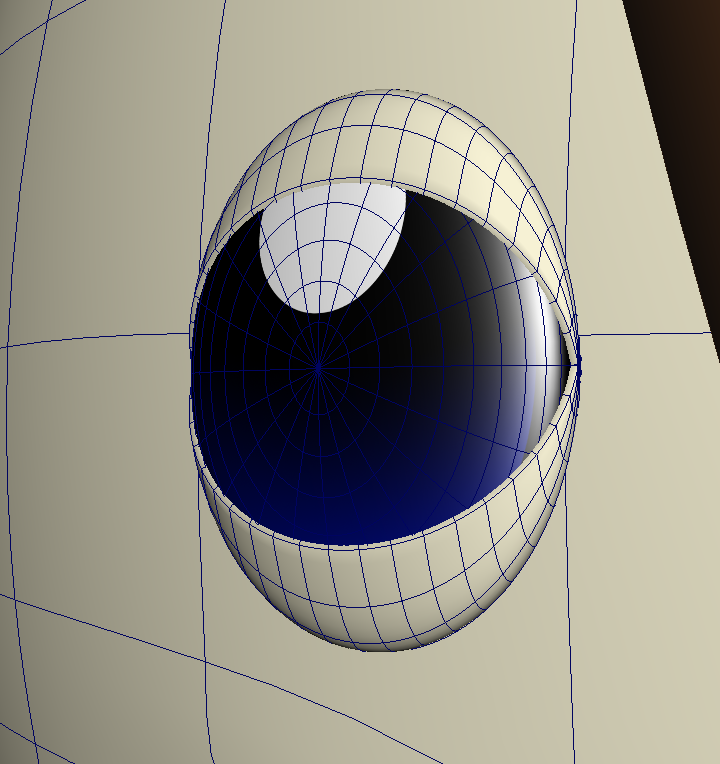
Unless it's absolutely consistent with the style, I can't
stand doll eyes. Yes, aiming them is straightforward;
they're certainly predictable. I went with oval eyes
that would slide across the surface of her face. I
knew this would work well on a spherical head, and I learned
that the Geometry and Normal constraints would help me do
the same thing on any shape.
I needed the eyelids to somehow wrap around a flat eye.
Thankfully it was easy. Both eyelids and the eye are
sphere based. Their transformations happen before
those of the group. I scaled the whole group and
avoided freezing the scale transformations. The eyelid
controls rotate each eyelid directly. With this
method, they always conform to the eye, just as they should.
It's a bit of a kludge, but it works as I need it to.
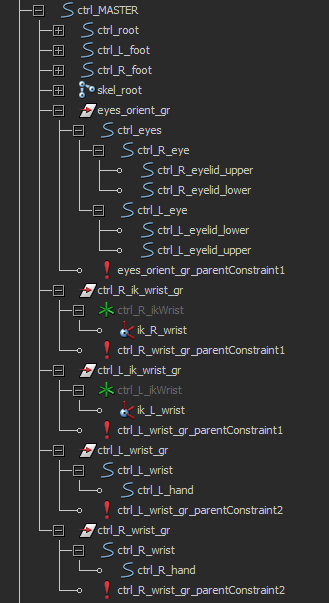
Here are the facial controls for reference. They're
reasonably self-explanatory. The trickiest thing that
happened was non-uniform transformations of the eyebrows and
eyes when moving them with an Aim constraint (each skinned
to a joint rotated by the Aim). I discovered that the
Aim Vectors were opposite, so I had to account for this when
making the constraint. If the left eye was [1, 0, 0],
the right had to be [-1, 0, 0]. Otherwise, it acted as
if it was rotating one eye from the back of the head.
With the last little bug worked out, I was clear to evaluate
and improve the general rig. That took some animation
testing, like this herky-jerky walk.
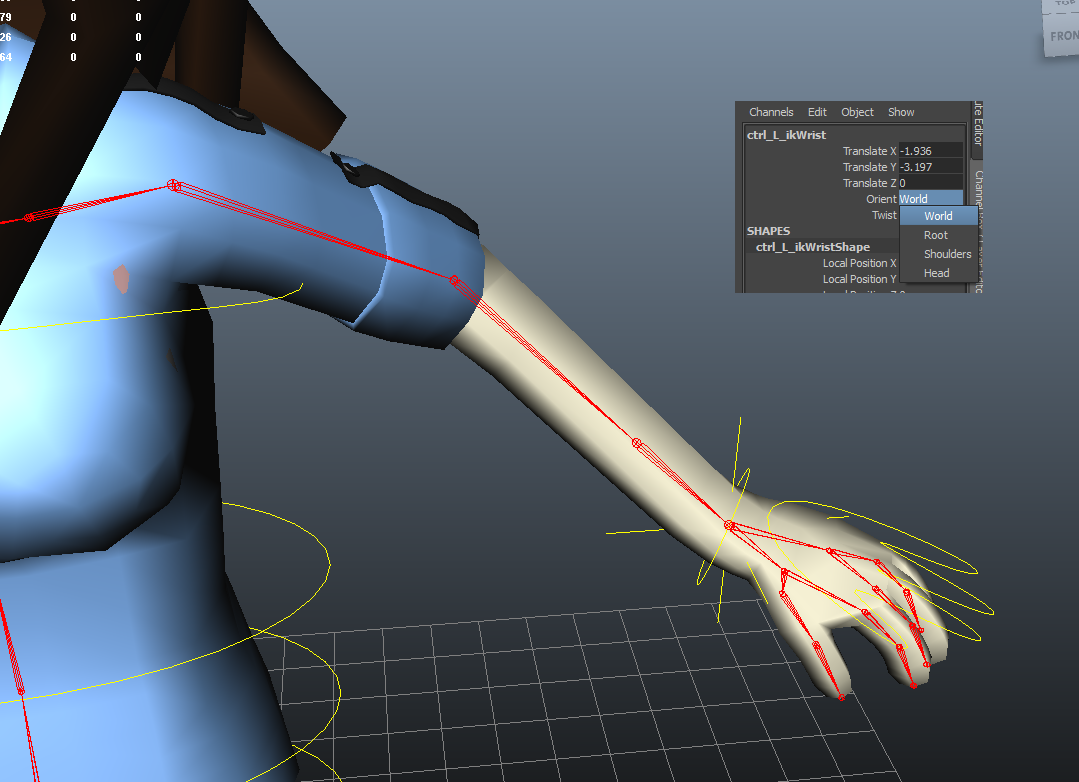
She got IK arms, which can be blended with the FK controls.
They can be oriented depending on the animator's needs.
This is pretty standard stuff.
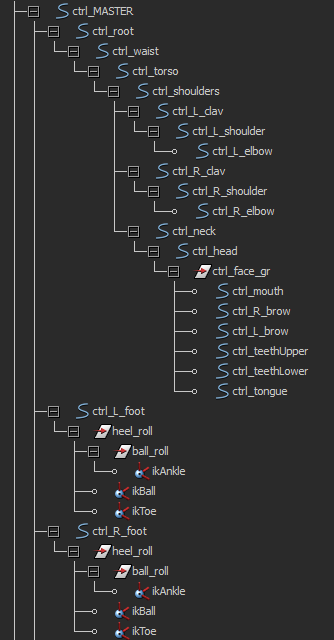
Overall, the controls are pretty simple, but they offer a
lot of versatility. Many of the general rigs I've used
just have too much stuff. I don't want to force
anyone to install scripts or learn my custom menu style just
to start animating. I don't want an animator to set a
key from a menu and not understand on which object it was
set when they need to make a change. All the related functions are just
attributes on the appropriate control. Everything is
out in the open.
Offering an FK/ IK switch, as well as dynamically-oriented
facial features, complicates the hierarchy and
parenting a bit. Luckily, it's no less functional, and
it doesn't slow the rig down. It's slightly less
direct, but the animator will never see it.
I did some tests with the cloth hair and her expressions.
Some of the blendshapes need work, but everything is in
place to make those modifications a clean operation.
Nothing else will get messed up, offset, or destroyed.
I can - and need to - add more mouths, too.
Plus she's got optional glasses, so that's pretty cute.
She needed to do something more than shake her head, so I
began this animation.
*probably
Please do not
reproduce, redistribute, or modify the contents of this site without
express written permission. Thanks!